In order to preserve the strength and longevity of the structure over time, protection against weather conditions is crucial when it comes to roofing. In this case, counter flashing plays a crucial role in maintaining a durable roof. To get a better understanding, in this blog post, we will explore the concept of counter flashing along with its significance in roofing and how it’s installed.
What Is Counter Flashing?
Counter flashing is crucial for roofs as it prevents water from infiltrating vulnerable areas where the roof meets a wall or chimney. Unlike base flashing, which is installed during roof installation, counter flashing is added later to cover and protect the top edge of the base flashing. This overlapping design creates a barrier that directs water away from potential entry points, safeguarding the roof’s structure from water that could get behind the flashing.
Counter flashing is primarily used to create a barrier that keeps water from entering through cracks or gaps in the masonry joints surrounding the chimney, thus preventing infiltration into the roof or living space below. Counter flashing offers long-lasting protection against water damage by firmly anchoring to the wall or chimney using fasteners like screws or nails.
Also Read: Roof Flashing 101: Mastering The Art of Protecting Your Roof With Different Types Of Flashing
How Is Counter Flashing Installed?

Necessary Materials And Tools
To ensure a successful counter flashing installation, you’ll need a few specific materials and tools:
- Counter-Flashing Material: These are the essential flashing components that fit into designated areas to form a protective barrier against water infiltration.
- Sealant: Crucial for sealing joints and preventing water from seeping through, ensuring a waterproof seal.
- Grooving Tools (For Brick Installation): Necessary for creating grooves in brick walls where counter flashing will be inserted, ensuring a secure fit.
- Mortar (For Mortar Joint Installations): Used to fill and prepare mortar joints, providing a stable foundation for the flashing system.
Having the correct materials and tools ready ensures a smooth installation process and a reliable outcome.
A Step-by-Step Installation Process
1. Evaluate The Existing Wall Material:
Assess the existing wall material to determine if you want the material to serve as the counter flashing or if separate counter-flashing material is necessary. This assessment guides the installation approach based on the wall’s specific characteristics.
2. Surface Preparation:
- For brick walls: Use grooving tools to create precise grooves where counter flashing will be placed, ensuring proper alignment within the wall structure.
- For mortar joints: Fill and clean mortar joints thoroughly to create a smooth surface for counter-flashing installation, crucial for a durable flashing system.
3. Install Counter Flashing:
- Insert counter-flashing sections carefully onto the prepared areas, ensuring a snug fit to prevent water infiltration. Correct installation is vital for maintaining the building or chimney’s structural integrity and preventing water damage.
- Apply sealant along joints between the counter flashing and the surface of the wall to create a waterproof seal, enhancing protection against moisture intrusion.
4. Check The Installation:
- Conduct a thorough inspection after installing counter flashing to ensure it’s securely in place and effectively covering base flashing. Check for gaps or potential areas where leaks could occur, as even minor imperfections can compromise the flashing system’s effectiveness.
- Promptly address any installation issues to ensure adequate protection against water damage.
5. Maintenance:
- Regularly inspect the counter flashing for wear, damage, or gaps that may compromise its effectiveness.
- Replace sealant as needed to maintain a durable, waterproof seal and preserve the building’s structural integrity.
Common Mistakes To Avoid
- Depending solely on sealant without proper counter-flashing installation can lead to inadequate water protection.
- Neglecting to prepare grooves or mortar joints adequately before installation may result in gaps, compromising the flashing system’s effectiveness.
- Failing to secure or install counter flashing correctly can leave openings for water infiltration, potentially causing structural damage over time.
By following these steps and avoiding common mistakes, you can effectively install counter flashing, safeguarding your building against water damage and ensuring its structural integrity for years to come.
Common Materials For Counter Flashing
1. Aluminum
Due to its affordability, ease of customization, and long lifespan, aluminum is a popular material. Aluminum is also lightweight, making it easy to work with and shape to your specifications. However, it may begin to corrode if you leave it unpainted or without a protective coating in certain circumstances.
2. Copper
Despite being the most expensive option, copper is a favorite because it is durable and attractive. It will hold up for decades and develop a nice patina with age. Copper is simple to install and bend, but it is softer, meaning that it can be easily damaged by debris or hail.
3. Galvanized Steel
Galvanized steel is robust due to the material’s specialized treatment to withstand rust. However, it is a bit thicker than other options, making it more challenging to install.
How Much Does Professional Counter Flashing Installation Cost?
The price to install counter flashing may vary depending on a number of factors. Across the nation, the average is roughly $760, with the majority of people spending $400 to $1,100. The cost is based upon various factors, including the type of flashing material utilized, the size of the property, labor costs, and your location.
It usually costs about $15 to $20 per linear foot to install counter flashing with professional help. You’ll find that the overall cost of the project to replace counter flashing around a chimney can start at around $400 and reach as high as $1,600.
Looking For Flashing Repair And Replacement Services?
Though the details are often overlooked, they matter when it comes to your roof and the protection of your home. Counter flashing is one of these small details. While it may not be the main attraction, it is really important for protecting your home from water damage. You can safeguard your roof and maintain its condition for many years by being aware of the importance of counter flashing, knowing when and where it is required, and knowing how to install it correctly.
If you want to ensure the flashing on your roof is in good condition, you’ll want to hire the professional services of a roofing contractor. As professionals in the field, our team at Empire Roofing & Exteriors can guarantee that your roof is properly maintained by offering inspection and repair services. For the best flashing installation, give us a call at (225) 347-8877.
Related Articles
-
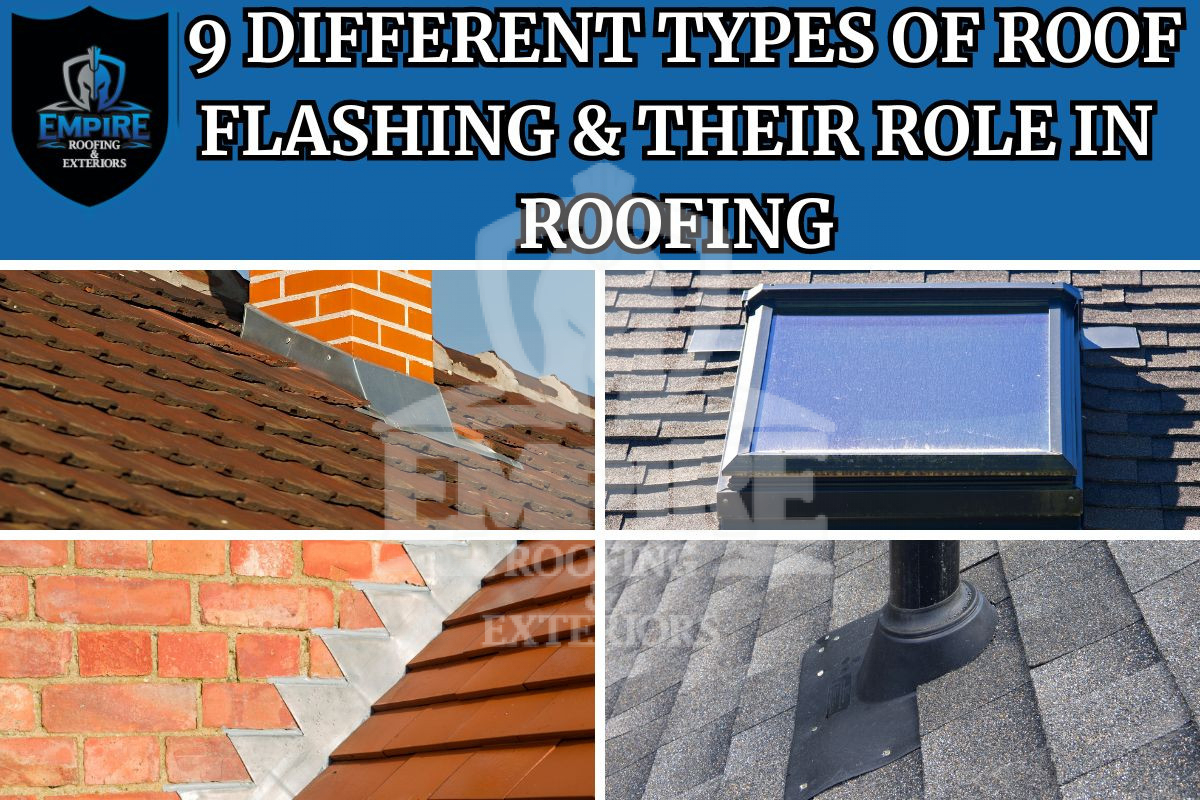 August 21, 20239 Different Types Of Roof Flashing & Their Role In RoofingYour roof is your home’s first line of defense against severe weather, rain, and debris. But even the strongest roofs can face problems if they’re not adequately maintained. This is where roof flashing comes in. Often overlooked and forgotten about, flashing plays a crucial role in keeping your home free from water damage. In this […]
 -
 September 5, 2025How Roof Flashing Protects Your Home and Peace of MindDon’t risk water damage, roof flashing stops leaks and shields your home. Discover how quality flashing keeps your property safe.
 -
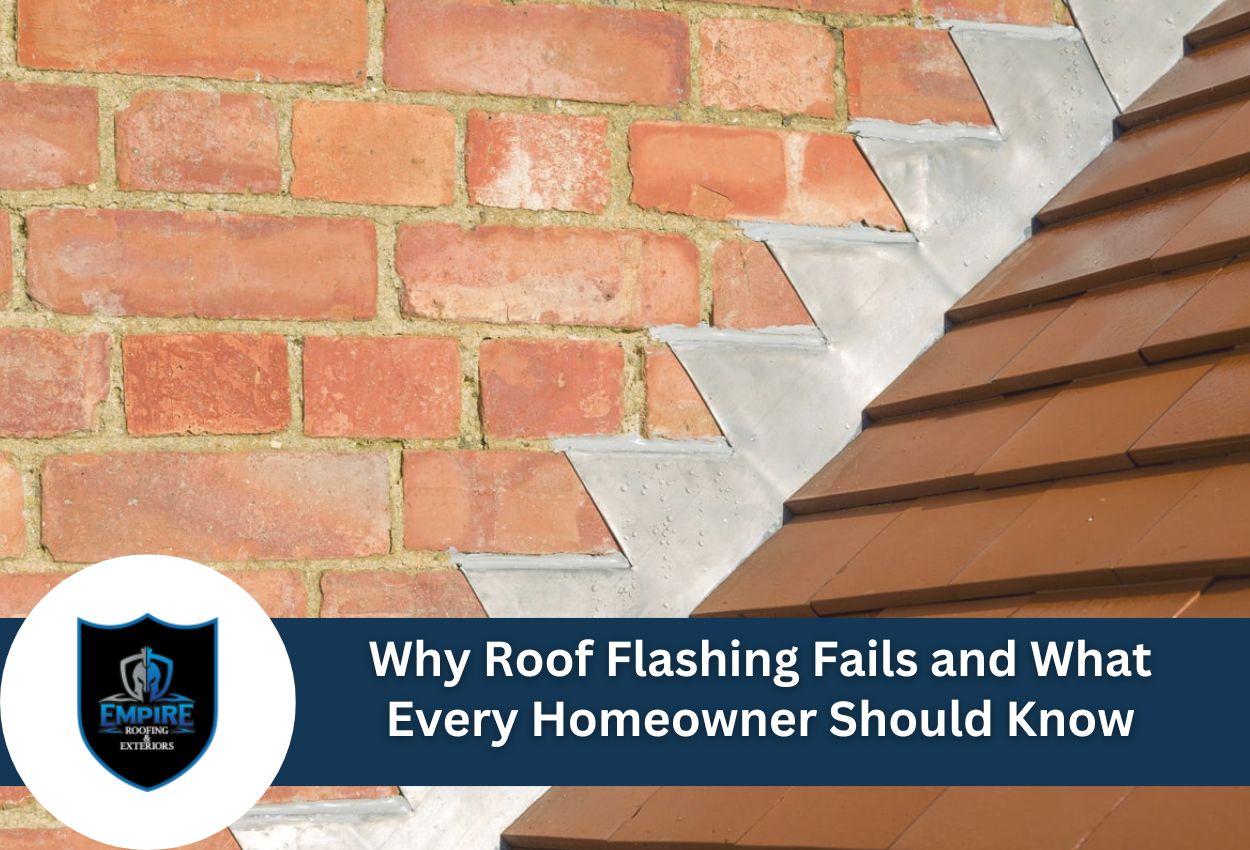 October 12, 2025Why Roof Flashing Fails and What Every Homeowner Should KnowCan roof flashing failure lead to costly water damage? Discover the signs, causes, and prevention tips to keep your home.
Protect Your Home with Expert Roofing
Don’t wait for leaks or storm damage to cause costly repairs. Our experienced roofing team provides fast, reliable service, high-quality materials, and lasting results. Ensure your home stays safe, secure, and looking great—contact us today for a free estimate.