After a storm passes, clear skies bring a sense of relief. Yet, the aftermath often leaves a trail of damage, with roofs typically bearing the brunt. Neglecting post-storm roof damage, even the smallest kind, can cause issues to grow, like leaks, mold, and structural damage. Therefore, it’s crucial for homeowners to diligently inspect their roofs after storms to reduce the chance of potential problems.
In this blog post, we’ll provide you with a comprehensive checklist to help you assess any kind of potential damage you may come across and take the necessary steps to protect your home.
What Does A Storm Damage Roof Inspection Involve?
After a storm, your roof might have damage that’s not visible until closer inspection. Checking your roofing system thoroughly is important to keep your home safe, and here are some of the main steps you can take to do this:
#1. Exterior Inspection
By conducting a thorough external inspection with a focus on the following regions, possible post-storm roof damage can be identified early. Prompt action helps maintain the structural integrity of the roof and helps stop additional problems from forming.
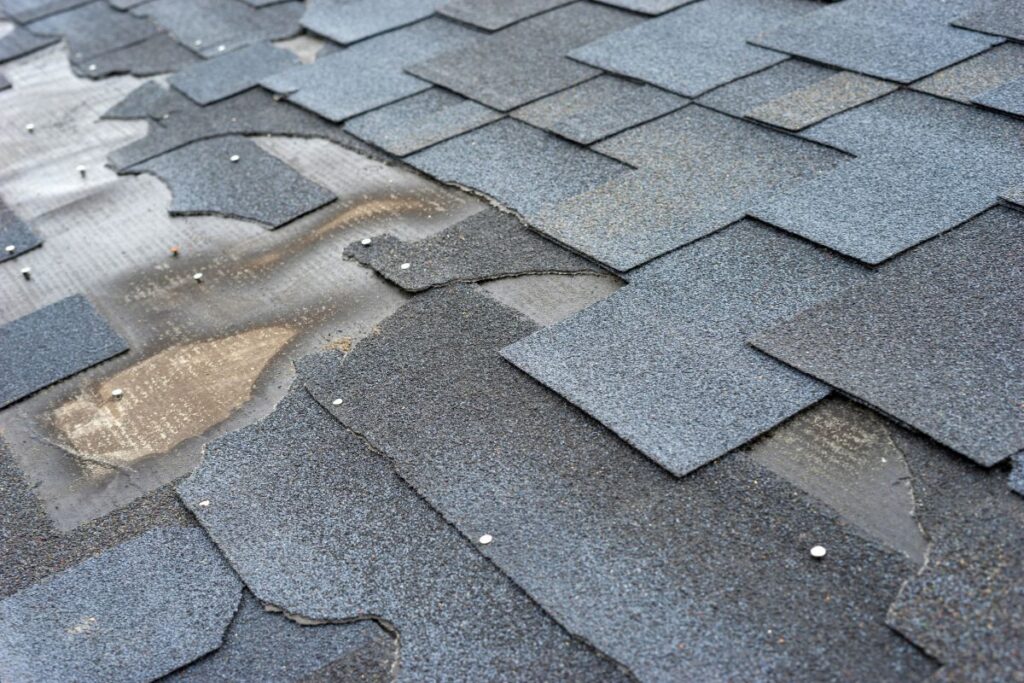
1. Check for Missing, Cracked, or Broken Shingles

Begin by inspecting the roof’s surface for any signs of damage to the shingles. Missing, cracked, or broken shingles can compromise the roof’s ability to shield your home from the elements. Pay close attention to vulnerable areas such as valleys and ridges.
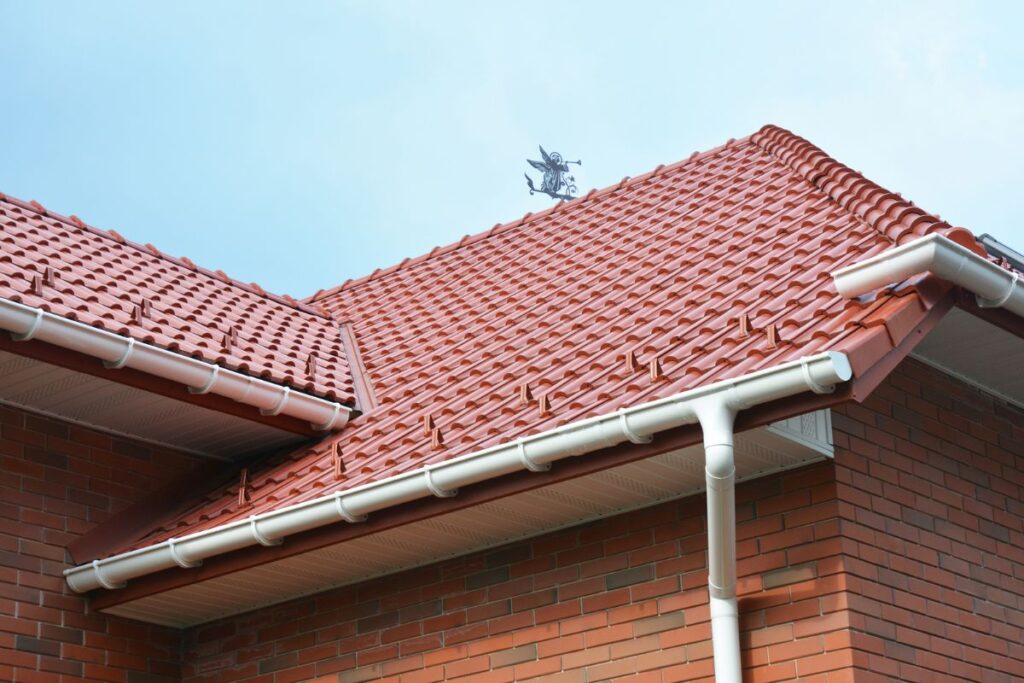
2. Assess Gutters and Downspouts

Next, evaluate the condition of your gutters and downspouts. Remove any debris that may have accumulated during the storm, as clogged gutters can impede proper drainage. Also, ensure that gutters are still securely attached to the fascia board and free of damage that could inhibit water flow.
3. Look for Any Indication of Water Pooling
Scan the surface of the roof for signs of pooling or standing water. This can indicate inadequate drainage or structural damage. Address any areas where water has collected, as prolonged pooling can accelerate deterioration and compromise the roof’s structural integrity.
#2. Interior Inspection
Beyond an external evaluation, looking inside is just as important for finding possible leaks and water damage. Here is a thorough breakdown:

1. Ceilings and Walls
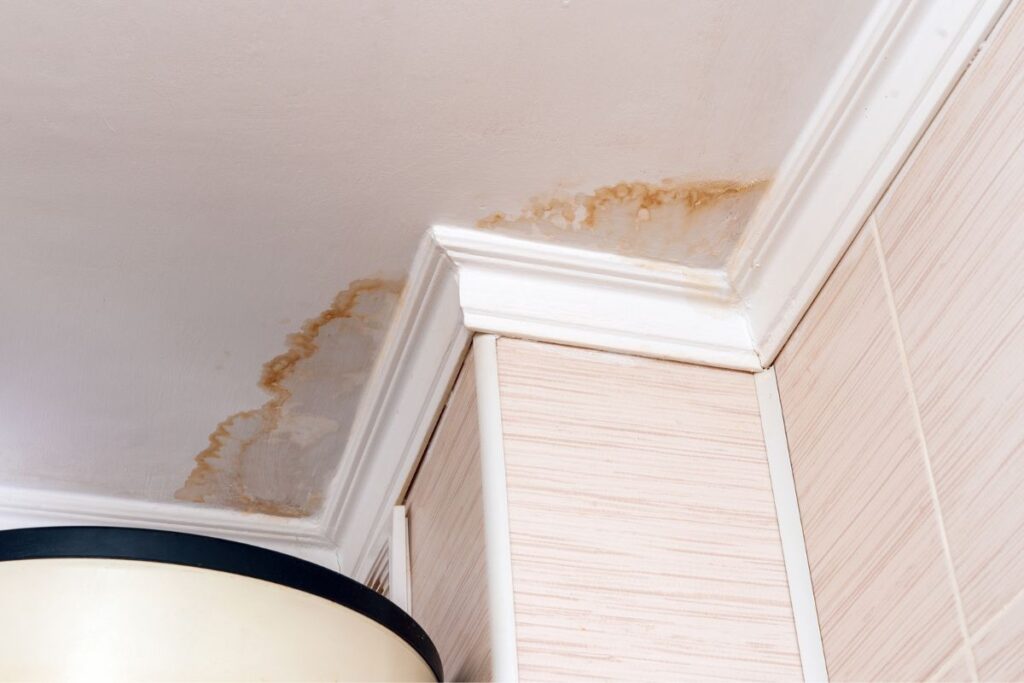
- Visual Examination: Thoroughly inspect ceilings and walls for water stains, discoloration, or any signs of moisture. These indications often signal the presence of roof leaks requiring immediate attention.
- Water Stains: Identify any visible water stains that may have penetrated through the roof due to storm damage. Addressing water stains promptly is essential to prevent further structural issues.
- Signs of Leaks: Carefully examine for any active leaks or dampness, as these can cause structural damage if left unattended.
2. Attic Inspection
- Water Intrusion: Conduct a detailed assessment of the attic for signs of water intrusion, including damp insulation, water spots, or visible leaks.
- Mold and Mildew: Be vigilant for mold or mildew growth in the attic, as these thrive in moist environments and indicate ongoing moisture issues requiring resolution.
#3. Structural Assessment
Homeowners should immediately inspect their roofs following a storm to make sure no damage could jeopardize the stability and security of their homes. Promptly addressing any problems can help the roof last longer and stop additional damage from occurring.
- Sagging or Uneven Roof Lines: Thoroughly examine the roof for any indications of sagging or irregularities in the roof line, as this could signify structural damage sustained during the storm.
- Rot or Decay: Pay close attention to areas prone to moisture exposure, checking for signs of rot or decay along the roofing structure. Promptly addressing these issues is vital for preserving the roof’s structural integrity.
- Chimney and Vent Inspection: Inspect chimneys and vents for cracks or damage that could compromise the overall integrity of the roof. These damaged components may lead to leaks and structural issues if left unattended.
#4. Documenting and Reporting Damage After a Storm
Thorough documentation and reporting the damage promptly are crucial following a storm. Here is how to go about this part of the process:
1. Document Damage
- Thorough Documentation: After conducting your inspection, meticulously document all observed damage. Utilize photographs or videos to accurately capture the extent of the damage both inside and outside your home.
- Insurance Claim Support: These records are invaluable when filing insurance claims or obtaining repair estimates. Visual evidence aids insurers in assessing damage efficiently, speeding up the claims process.
2. Report Damage
- Contact Your Insurance Provider: Promptly inform your insurance provider upon finding and assessing the damage. They will guide you through the claims process, assess your coverage, and assist in initiating repairs.
- Facilitating The Claims Process: Your insurer will outline the coverage available for storm damage. Ensure you understand the details of your insurance coverage in order to facilitate a smooth claims process.
3. Choose a Contractor
- Selecting a Reputable Contractor: Prioritize choosing an experienced and reputable contractor for post-storm repairs. Ensure they specialize in handling storm damage repairs to guarantee quality workmanship.
- Research and Get Quotes: Take time to research potential contractors and obtain multiple quotes. Rushed decisions may result in subpar work or unnecessary expenses.
What Steps Can I Take To Prepare My Roof For Future Storms After Repairs Have Been Completed?
After completing repairs on your roof following a storm, proactive measures can be taken to prepare it for future storms:
- Regular Maintenance: Hire a professional for routine inspections to catch issues early and avoid expensive repairs.
- Keep Gutters Clean: Prevent water buildup by clearing debris from gutters to avoid leaks during storms.
- Yard Cleanup and Tree Trimming: Remove loose debris and trim branches to prevent damage from falling onto the roof during storms.
- Install Hurricane Straps: Strengthen the roof-wall connection with hurricane straps for added storm protection, potentially qualifying for insurance discounts.
- Check for Loose or Missing Shingles: Regularly inspect the roof after storms and promptly secure or replace loose or missing shingles to prevent further damage.
Is Your Roof In Need Of A Storm Damage Roof Inspection?
After a storm, your roof plays a big role in protecting your home. It’s really important to make sure it stays strong, especially after rough weather. Following this checklist when inspecting your roof after a storm can help you find and fix any problems quickly. Remember, safety comes first, so be careful when inspecting your roof. It’s always best to leave it to the professionals, and their experienced eye for detail that knows what to look for.
For professional help with any roof storm damage, consider contacting the team at Empire Roofing & Exteriors. We are experts at inspecting and fixing roofs, post storm damage. To keep your roof and home in the best condition possible, give us a call today at (225) 347-8877 and find out how we can help you.
