A roof’s defense against the weather relies heavily on flashing, an essential part of the roof that ensures lasting protection. Typically made from metal or rubber, flashing seals joints and intersections, which keep water from seeping into the building. However, constant exposure to harsh weather can cause it to deteriorate over time, increasing the risk of leaks and water damage.
In this blog post, we’ll walk you through everything you need to know about roof flashing repair, so that you can make the right decisions for your home.
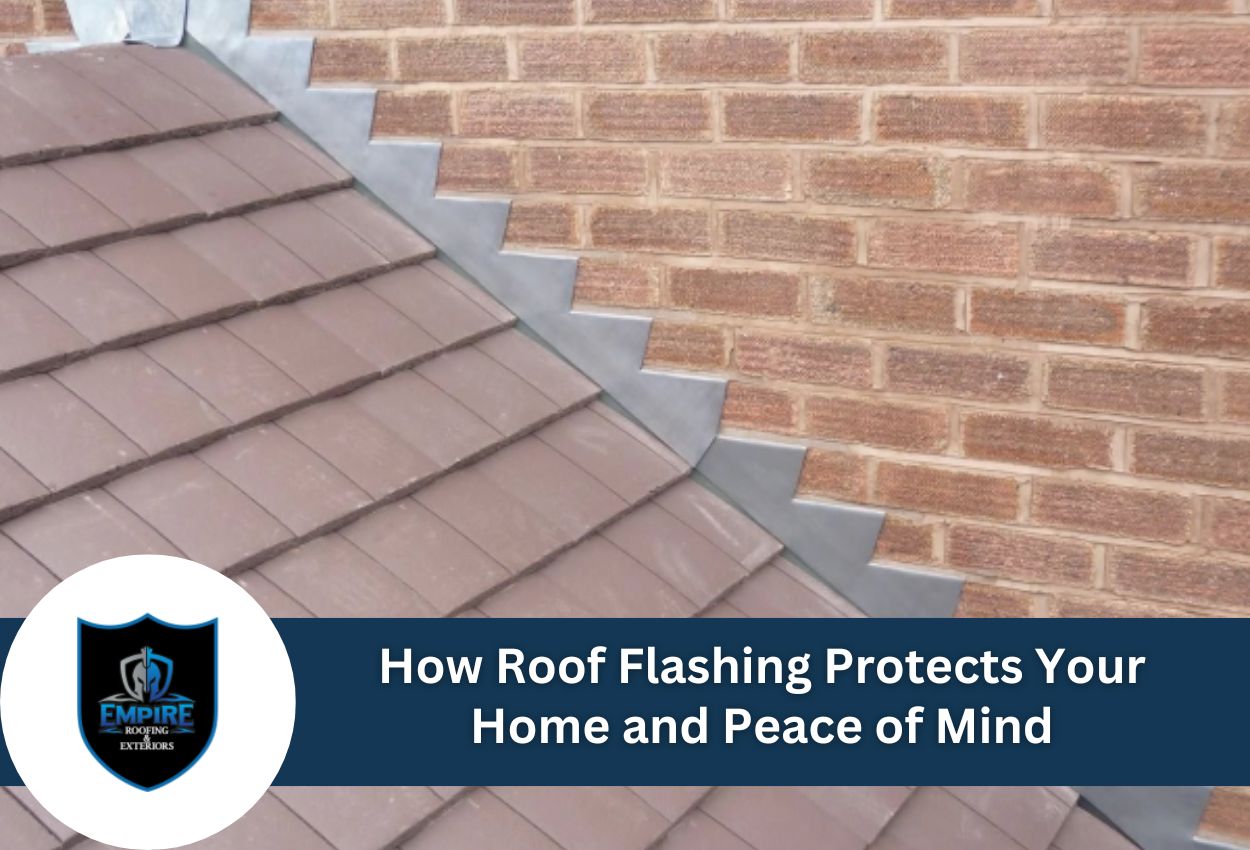
What Is Roof Flashing, And Why Is It Important?
Roof flashing is made from thin sheets of metal or other waterproof materials designed to direct water away from areas where two surfaces meet, such as walls, chimneys, roof valleys, and skylights. Its main job is to prevent water from seeping into joints and seams, protecting the roof and the building’s interior from moisture. Commonly made from galvanized steel or aluminum, flashing plays a crucial role in keeping your roof watertight and maintaining its long-term durability.
- Stops Leaks: Flashing directs water away from the most vulnerable areas on the roof, reducing the chance of leaks and water damage.
- Boosts Durability: It shields vulnerable spots from moisture, helping roofing materials last longer.
- Prevents Rot and Mold: By keeping water out, it stops wood rot and mold, saving money on repairs and preventing health risks.
- Improves Energy Efficiency: Sealing gaps with flashing reduces drafts, lowering heating and cooling costs.
- Handles Harsh Weather: Flashing protects the roof from heavy rain and snow by redirecting water away from weak points.
Also Read: What Is Counter Flashing On A Roof & How To Install It
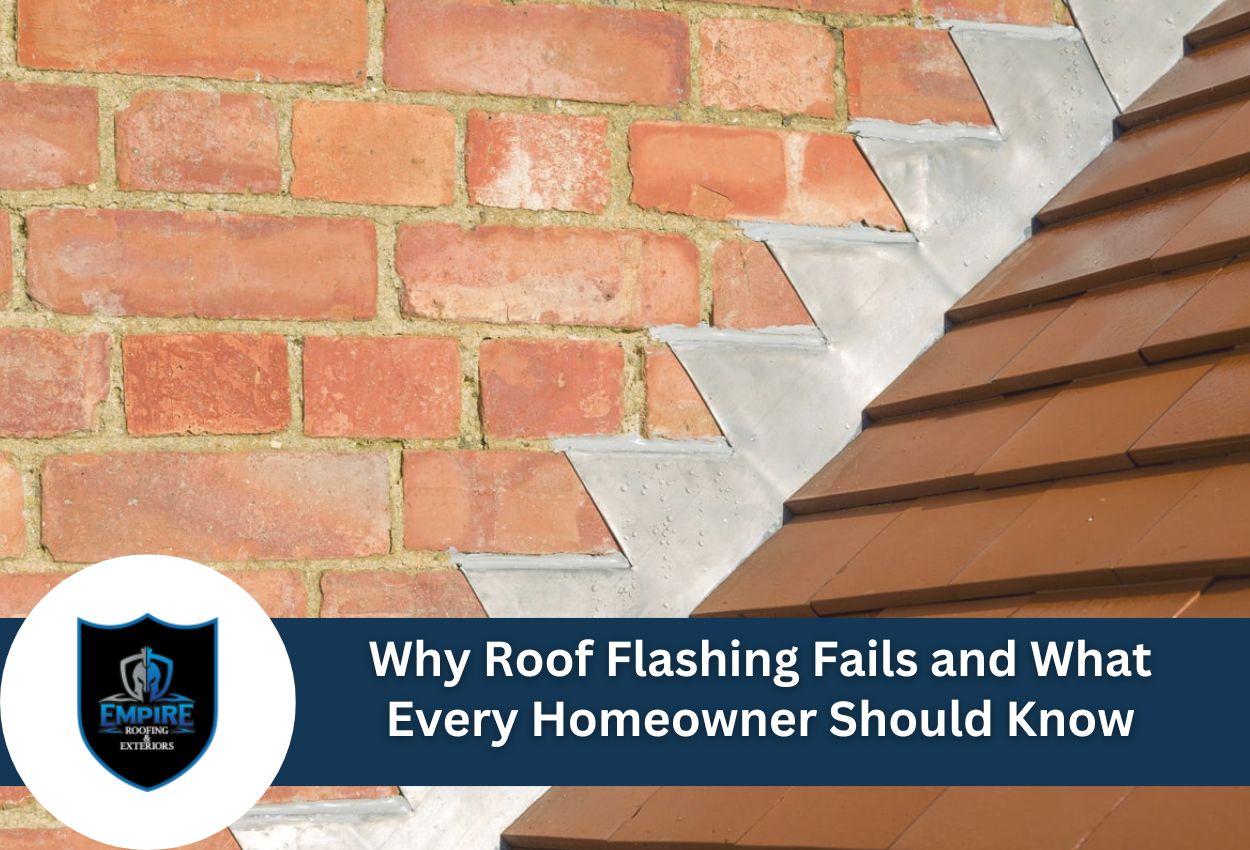
Signs Your Roof Flashing Needs Repair
You should be able to tell when your roof flashing requires repair based on a few signs that indicate damage has occurred:
1. Water Stains
Discoloration along the ceilings or walls may indicate a leak caused by faulty flashing allowing water to seep through.
2. Leaks During Rainfall
If you notice dripping or pooling water inside during a storm, it could be due to compromised flashing around chimneys, skylights, or vents.
3. Rust or Corrosion
Rusted flashing is not as effective as other choices making it more likely for water to find its way in.
4. Missing or Loose Flashing
Flashing that’s missing or detached from the roofline creates gaps where water can enter and cause damage.
5. Bends, Cracks, or Dents
Any physical damage to flashing, like bends or cracks, can weaken the material and allow water to pass.
6. Small Holes
Even small holes in flashing can lead to significant water damage if they’re not patched quickly.
7. Daylight Through Roof Boards
If sunlight is visible in the attic, it signals gaps where water could easily enter.
8. Mold Growth
Mold around structural joints in the roof represents leaks and water intrusion, possibly due to improper flashing installation.
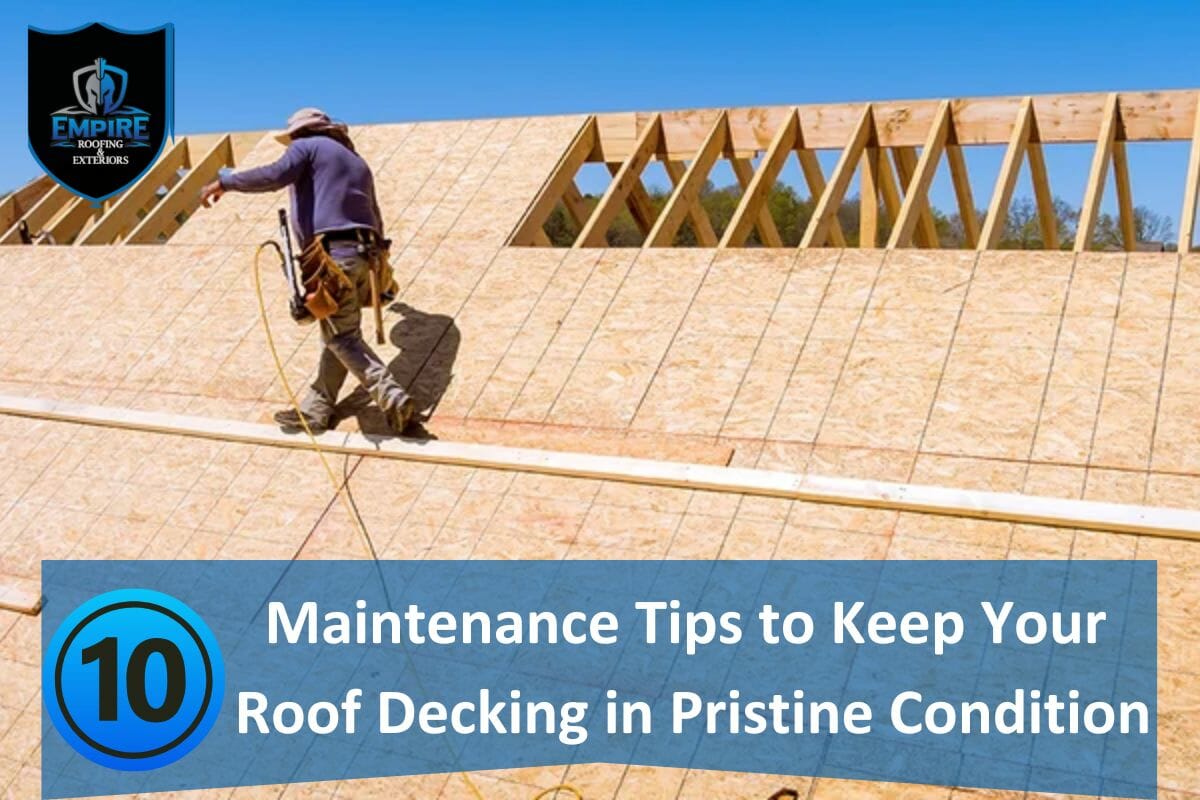
Step-by-Step Process: Flashing Repair On Roof
Now that you know what indicates that your flashing needs repair, here is an overview of the step-by-step process that many roof repairs go through:
Materials
| MATERIALS REQUIRED |
| Replacement flashing (if damaged) |
| Roofing cement |
| Caulking gun |
| Roofing nails |
| Pry bar |
| Safety gear (gloves, goggles, non-slip footwear) |
#1. Ensure Safety
Safety is crucial during any type of roof repair. Set up a sturdy ladder on a flat surface, and consider using ladder stabilizers for added security. Always wear appropriate safety gear, and have someone on the ground to assist if necessary.
#2. Inspect the Flashing
Next, inspect the roof to find areas needing flashing repair. Pay close attention to areas around chimneys, vents, skylights, and roof valleys where sections meet. Look for signs of rust, gaps, or loose flashing that could allow water in.
#3. Remove Old Flashing
Once you’ve identified the damaged flashing, use a pry bar to gently remove the old flashing. Be careful not to damage surrounding roofing materials. If the flashing is nailed down, carefully remove the nails with a hammer or nail puller to make the job easier.
#4. Clean the Area
After removing the old flashing, thoroughly clean the area to remove any debris, dirt, or old caulking and ensure the new flashing will adhere properly and seal tightly on the roof.
#5. Cut and Shape New Flashing
Measure the area where the old flashing was removed, then cut a new piece of flashing with tin snips to fit the space. Ensure the new flashing matches the material and thickness of the original to maintain a proper seal, completing your roof repair flashing.
#6. Install New Flashing
Apply roof cement to the edges of the area where the new flashing will be installed. Position the new flashing and secure it with roofing nails, ensuring it fits snugly against the roofing material. This is the key step in the flashing repair process.
#7. Seal Edges
Once the flashing is secure, apply additional roofing sealant around the edges. This ensures a watertight seal and prevents water from seeping underneath the flashing, completing the flashing repair process.
#8. Replace Shingles (If Necessary)
If you had to remove shingles in order to repair the flashing effectively, carefully replace them with the new flashing. Ensure the shingles are properly aligned and secured with nails, finalizing your repair
#9. Inspect for Leaks
After completing your repairs, monitor the area for any signs of leaks. If leaks appear, apply more roofing cement to reinforce the seal and prevent further water intrusion.
Additional Repair Methods (Optional)
If you need to make temporary fixes before professionals come and handle it, here are some additional methods to help you:
1. Patch Small Holes
For small cracks or holes, simply apply roofing cement to fill the damage. Clean the area first, then spread the cement and smooth it out to create a watertight seal. This quick fix helps extend the life of your flashing until you can perform more thorough repairs.
2. Use Flashing Tape
Flashing tape is an easy, self-adhesive option for repairing small gaps or cracks. Just apply it directly over the damage to create a temporary waterproof barrier. This method works well until you can tackle more permanent repairs.
How Much Does It Cost To Repair Roof Flashing?
Depending on the type of flashing and the extent of the damage, roof flashing repair typically costs around $200 to $500. However, the price will vary by property as the final cost depends on the contractor’s rates, the materials used, and any additional repairs required.
Secure Your Home with Professional Roof Flashing Repair from Empire Roofing & Exteriors
Despite its tiny size, roof flashing is crucial to your home’s safety. Learning how to identify, fix, and maintain your flashing can help shield the structure of your house and save you money in the long term by preventing water damage.
Don’t let a leaky roof disrupt your peace of mind. At Empire Roofing & Exteriors, we specialize in expert roof flashing services to protect your home from water damage. Our skilled roofers will thoroughly inspect and repair your roof’s vulnerable areas, ensuring a secure, watertight seal. With our focus on quality and customer satisfaction, you can trust our team to safeguard your home for years to come. Call us at (225) 347-8877!
FAQs
A. It’s important to inspect roof flashing at least twice a year, especially in spring and fall. This helps spot any issues before harsh weather makes them worse.
A. Minor repairs, like patching small holes with roofing cement, can be done by homeowners. However, for major damage, or if you’re unsure, it’s safest to hire a professional to ensure the repairs are done correctly.
A. Minor flashing repairs, such as resealing or patching, usually take 1 to 2 hours. More complex repairs may take longer, depending on the damage and the roof’s condition.